NOTE: I’ve updated this page to refer to version 3.6.1, as nothing has changed about the information provided here from version 3.6.0. Assume that if you hear 3.6.0, it covers 3.6.1 as well.
This page will be the repository for:
- safely downloading the latest recommended version (3.6.1)
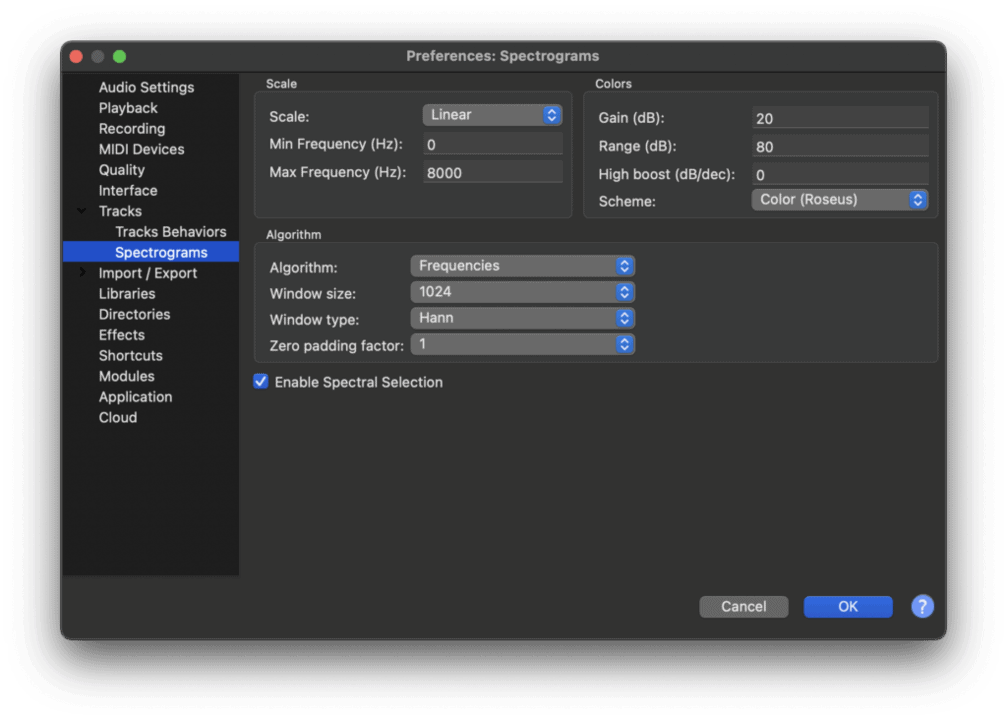
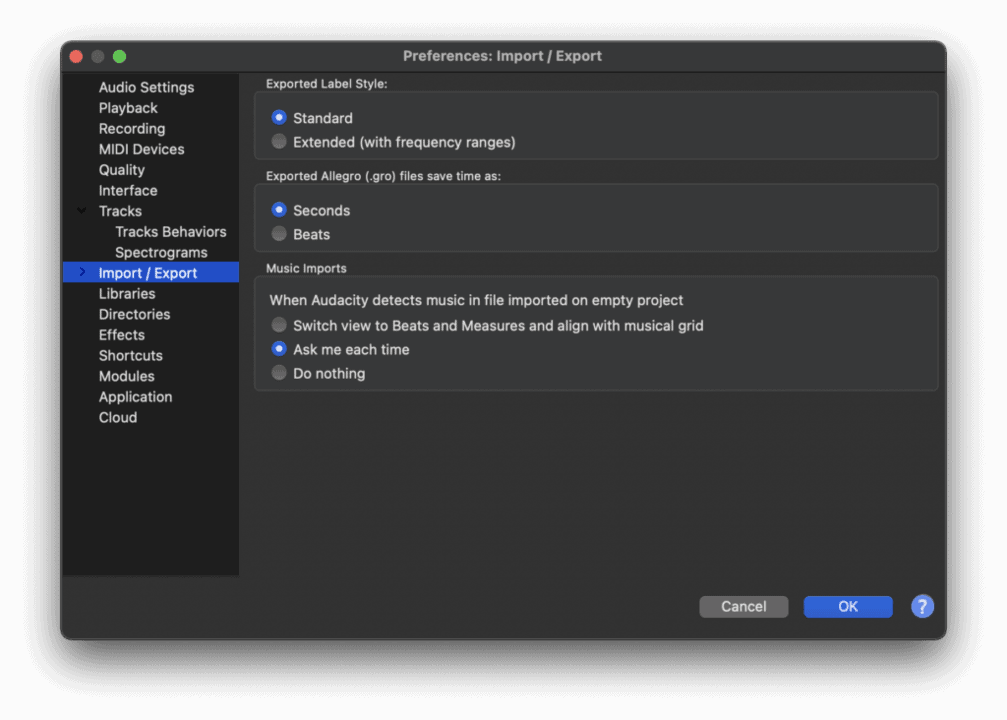
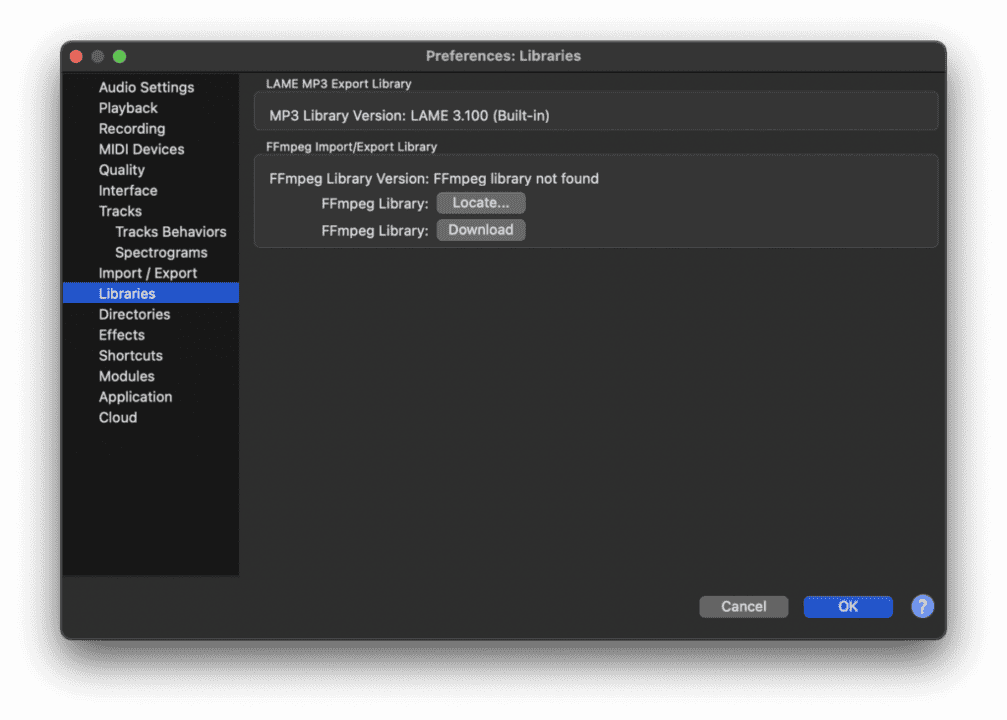
- setting preferences in the app, as used within the VOHeroes Pro curriculum, and
- streamlining the recording interface, as used within the VOHeroes Pro curriculum, and
Download Audacity 3.6.1:
Choose the correct link to download the Audacity installer that is best suited for your computer/operating system. Clicking a download link will take you to the official Audacity download page, where you should PATIENTLY WAIT FOR THE DOWNLOAD TO AUTOMATICALLY BEGIN – you don’t have to click on any download link on that page. Check your Downloads folder if your browser doesn’t give you a visual indication that the installer is being downloaded. Depending upon traffic, it might take a bit.
- Macintosh users:
- If you have an Apple Silicon-chip equipped M1, M2 or M3 Mac, click here to download the DMG
- If you have an older Intel-chip equipped Mac, click here to download the DMG
- If you don’t know if you have an Apple Silicon Mac or an older Intel-chipped Mac, click here for the Apple help page on how to tell which you have
- Windows users:
- If you have a 32-bit Windows computer, click here to download the zipped installer
- If you have a 64-bit Windows computer, click here to download the zipped installer
- If you don’t know if you have a 32-bit or a 64-bit Windows installed, click here for the Microsoft help page on how to tell which you have
- Follow the simple directions given on the next screen, and allow your computer to place Audacity where it wants to.
- NOTE: if you already have Audacity installed on your computer, you can use this same process to update it to the latest version
Step by step, here’s a video demonstrating how to download and install Audacity:
Once you have successfully installed Audacity, follow the instructions below to set the preferences for this version:
Recommended Preferences for Audacity 3.6.1:
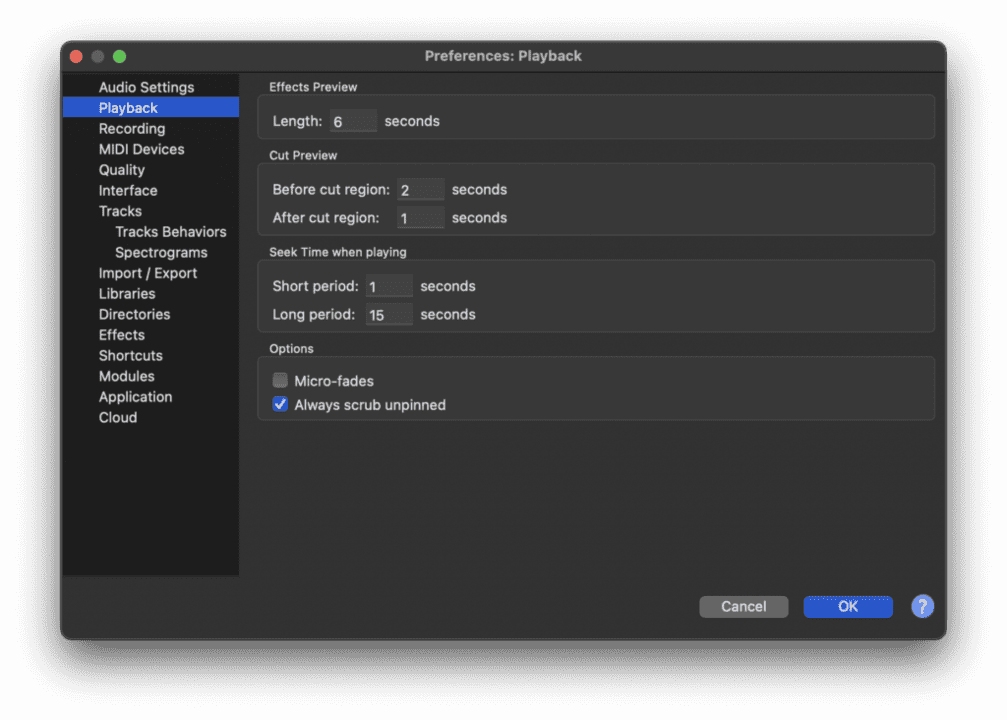
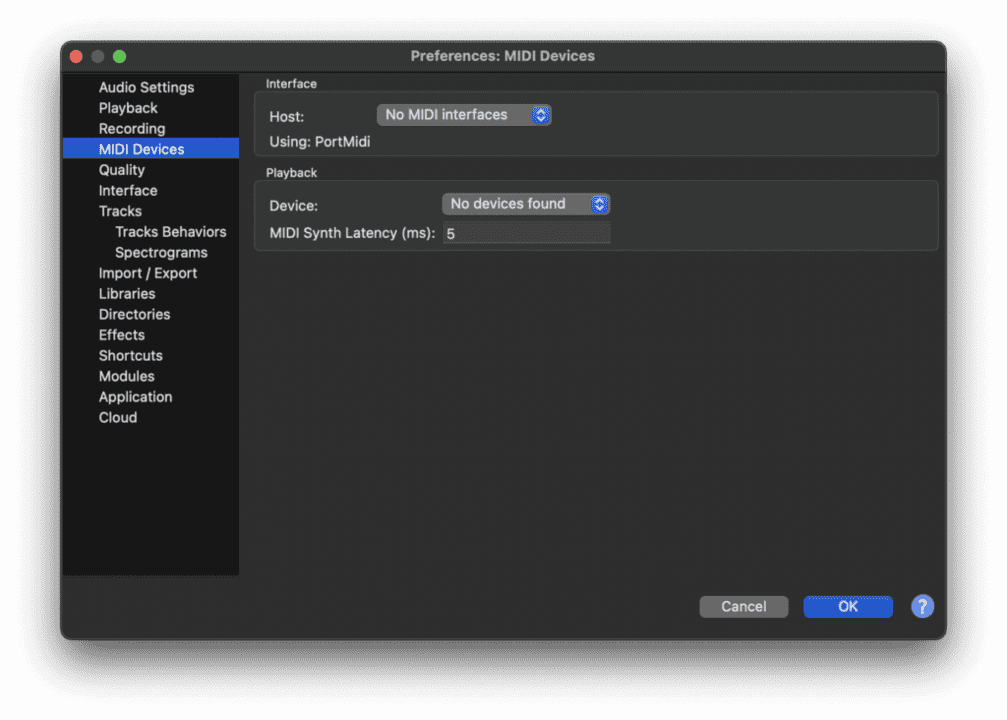
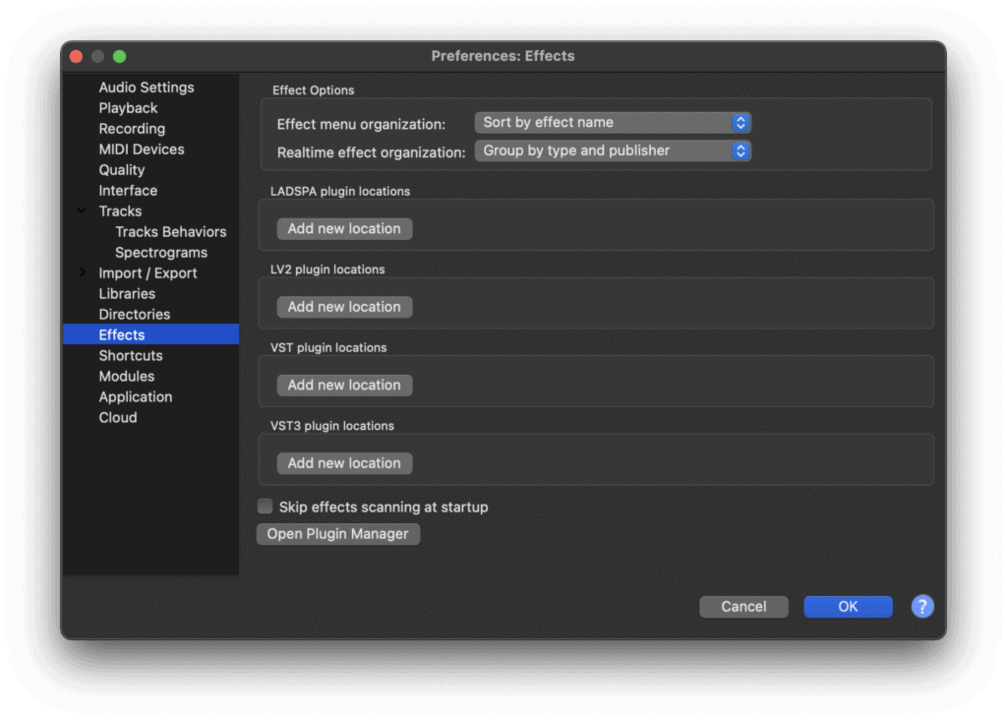
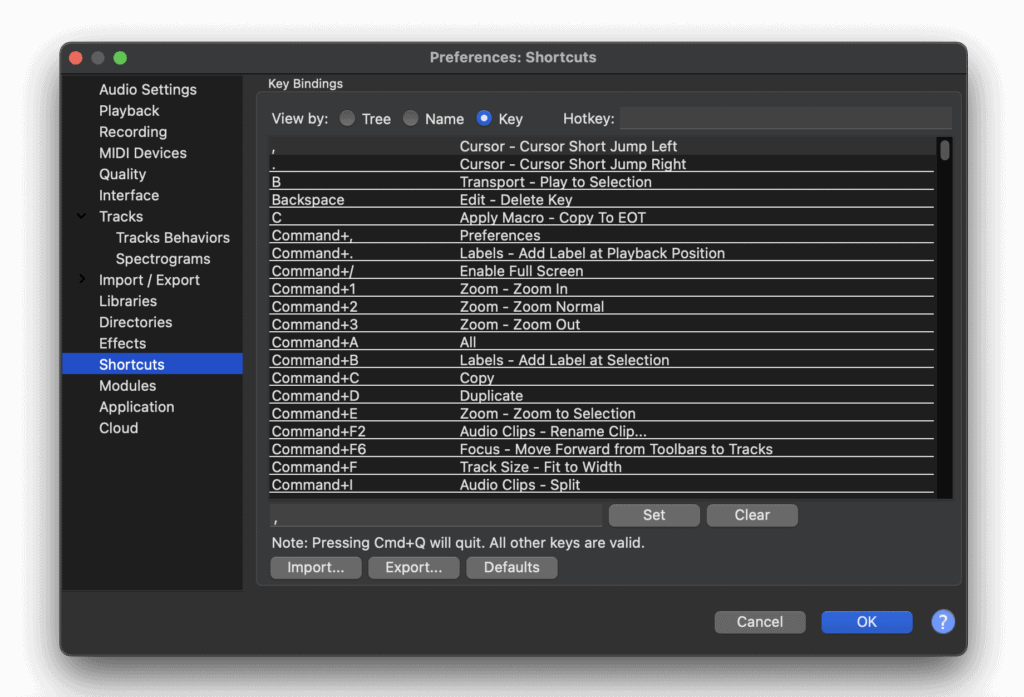
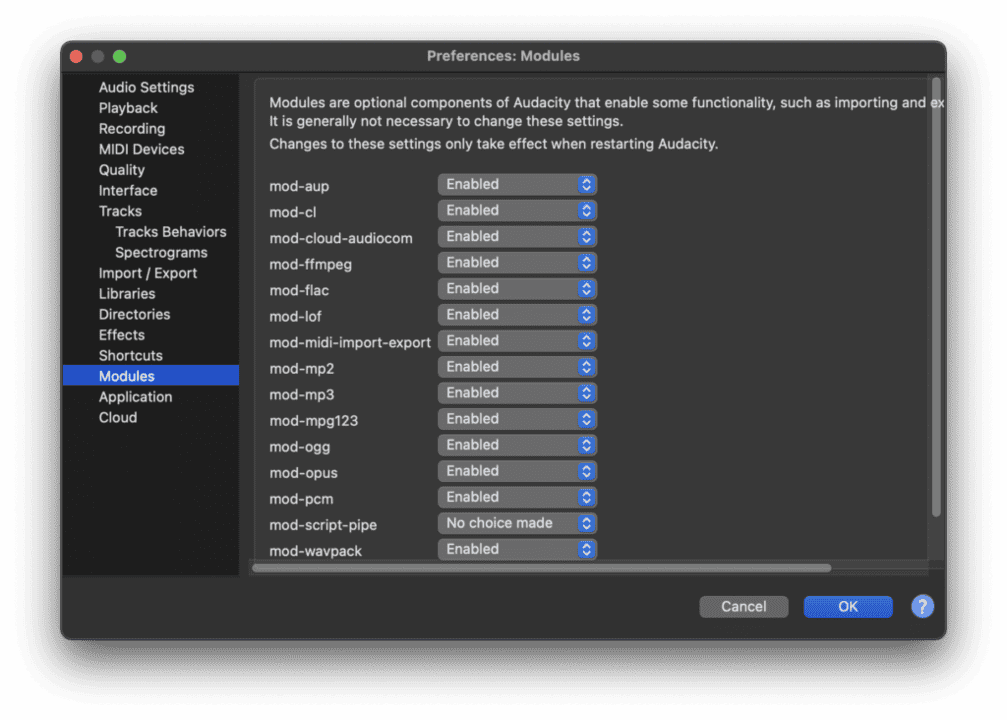
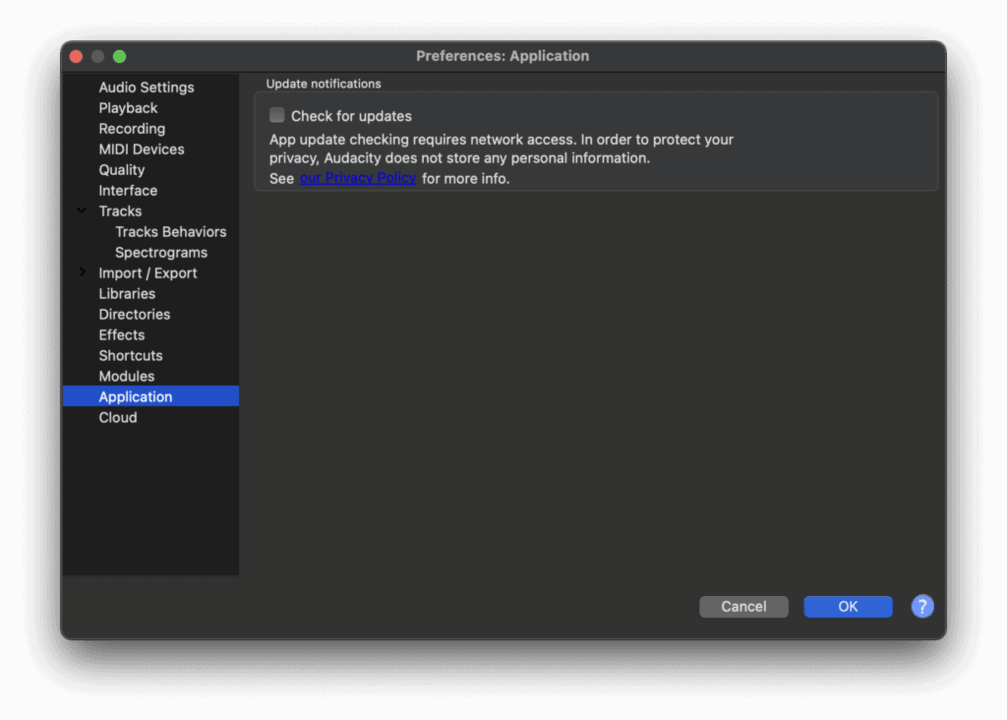
Here are the recommended settings, for each of the panes in the Preferences window, to facilitate the processes (including the Stairstep Method) that we teach in the class. Have Audacity open on your desktop, and set your preferences the same (open Preferences in the Audacity menu).
Note: These are screenshots taken on Macintosh, the predominate platform students use. Where applicable, there are notes regarding any differences on the Windows platform.
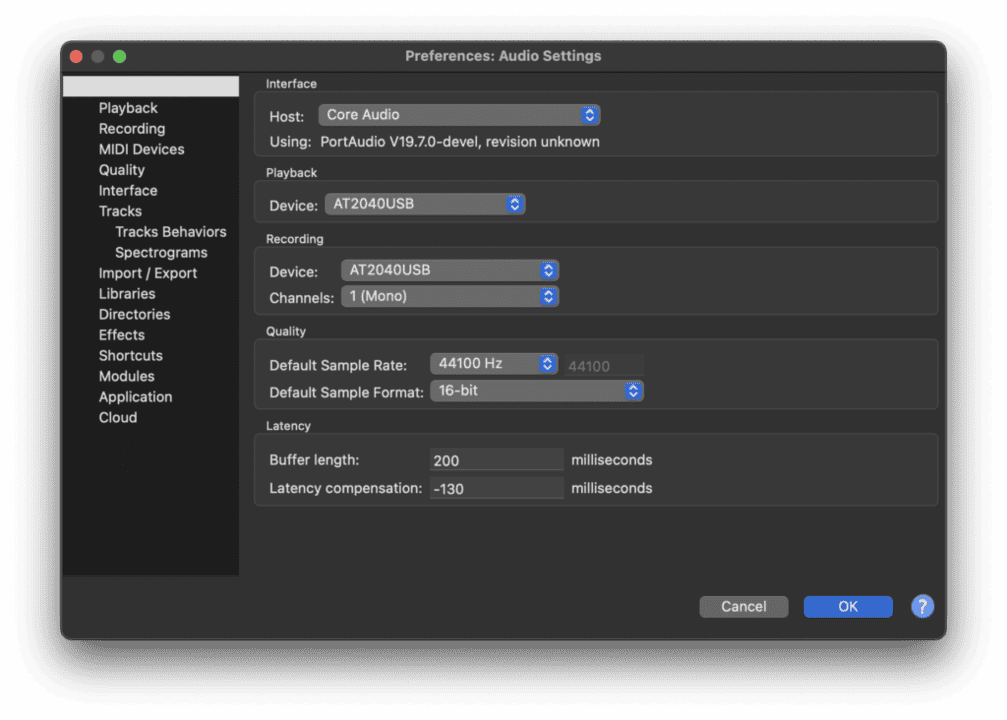
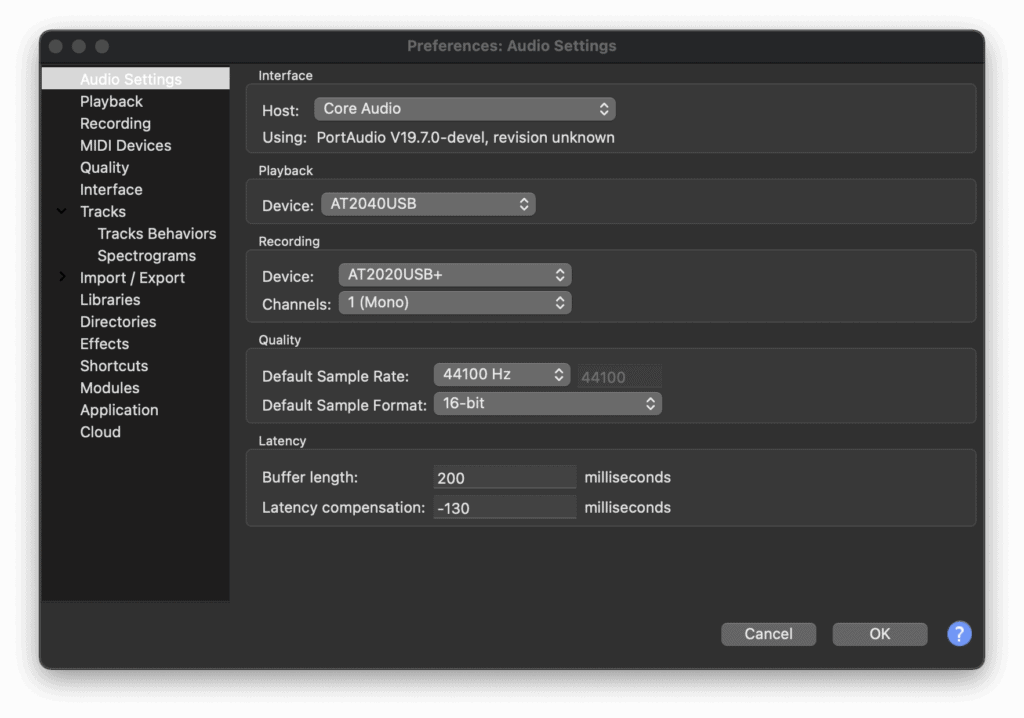
Audio Settings pane
- Interface
- Host: Core Audio (Mac users only)
- Windows users: Start with WASAPI. If your device shows up in the Recording Device select box, you’re all set:

- If WASAPI doesn’t work, try DirectSound.
- MME should be your last resort, but if it works, use it.
- Host: Core Audio (Mac users only)
- Playback
- Device: AT2040USB or AT2020USB+ (or your interface/speakers/earbuds/headphones)
- Recording
- Device: AT2040USB or AT2020USB+ (or your selected microphone or interface)
- Channels: 1 (Mono)
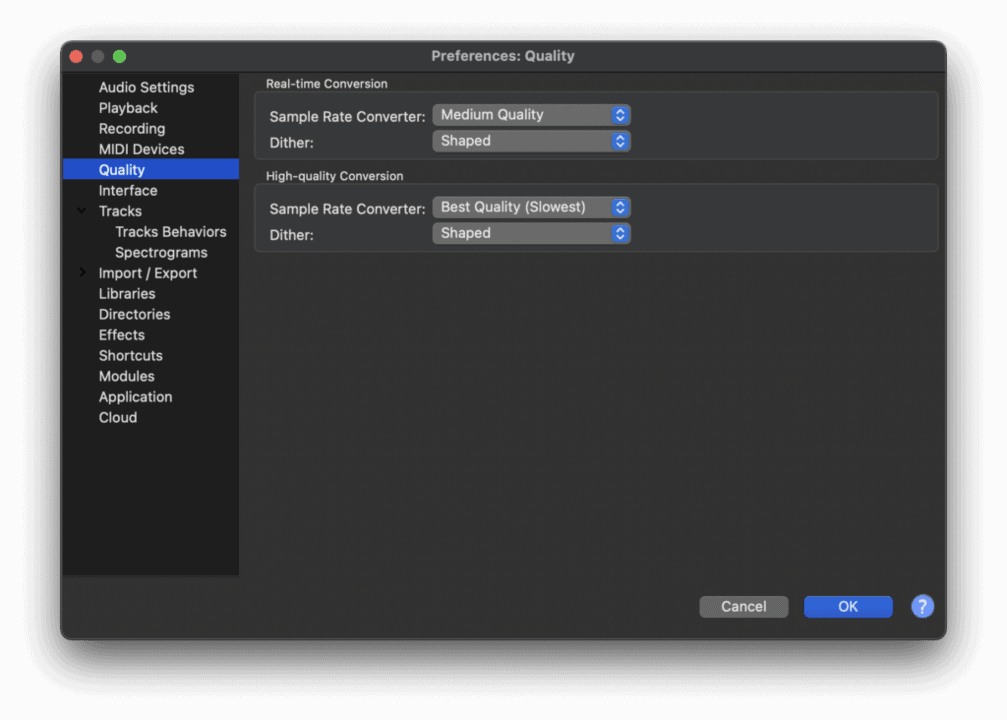
- Quality
- Default Sample Rate: 44100 Hz
- Default Sample Format: 16-bit
- Latency
- Buffer length: 200
- Latency Compensation: -130 milliseconds
Recording pane
- Options
- UNCHECK Hear other tracks while recording (overdub)
- UNCHECK Audible input monitoring
- CHECK Record on a new track (THIS IS IMPORTANT – make sure this is checked)
- CHECK Detect dropouts
- Sound Activated Recording
- UNCHECK Enable
- Name newly recorded tracks
- With (leave all unchecked):
- UNCHECK Custom Track Name
- UNCHECK Track Number
- UNCHECK System Date
- UNCHECK System Time
- With (leave all unchecked):
- Punch and roll recording (we don’t use this, so the settings can be left as they are)
- Pre-roll: 5 seconds
- Crossfade: 10 milliseconds
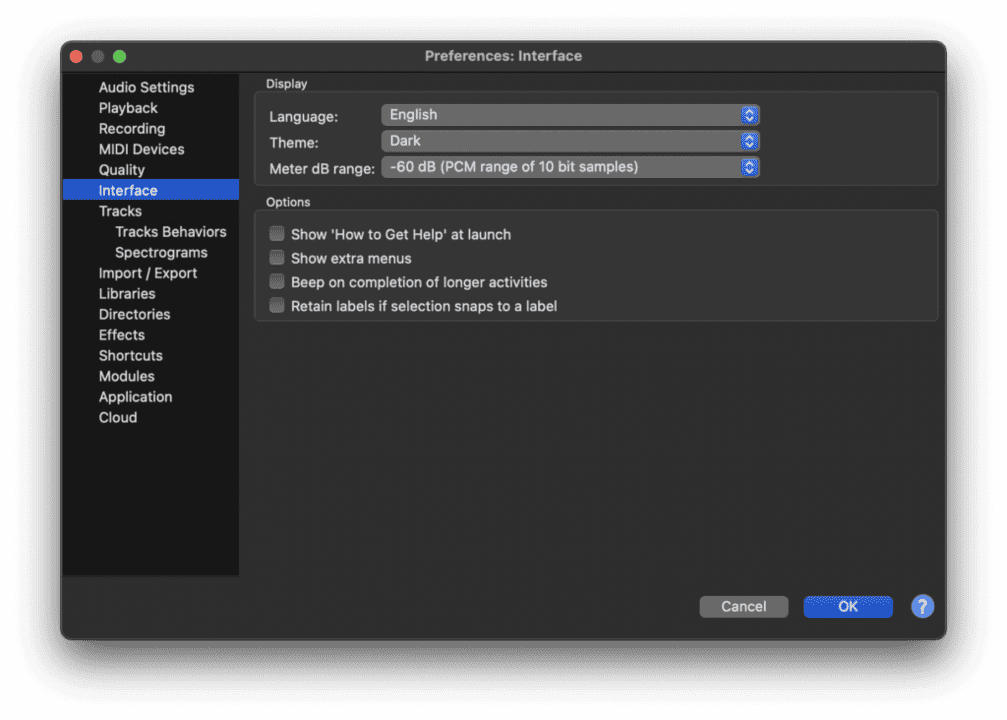
Interface pane
- Display:
- Language: English (or your preferred language for viewing menus and window labels, not your native VO language)
- Theme: Dark (it’s easier on the eyes and makes your script more easily readable)
- Meter dB range: Usually, -96 dB (PCM range of 16-bit samples), but for quick visual measuring of your noise floor, you’ll be instructed to temporarily choose -60 dB (PCM range of 16-bit samples) and you’ll then return it to -96.
- Options:
- UNCHECK ‘How to Get Help’ at launch
- UNCHECK Show extra menus
- CHECK or UNCHECK (your preference) Beep on completion of longer activities: you may find it helpful to be told by your computer that a long operation is finished.
- UNCHECK Retain labels if selection snaps to a lable
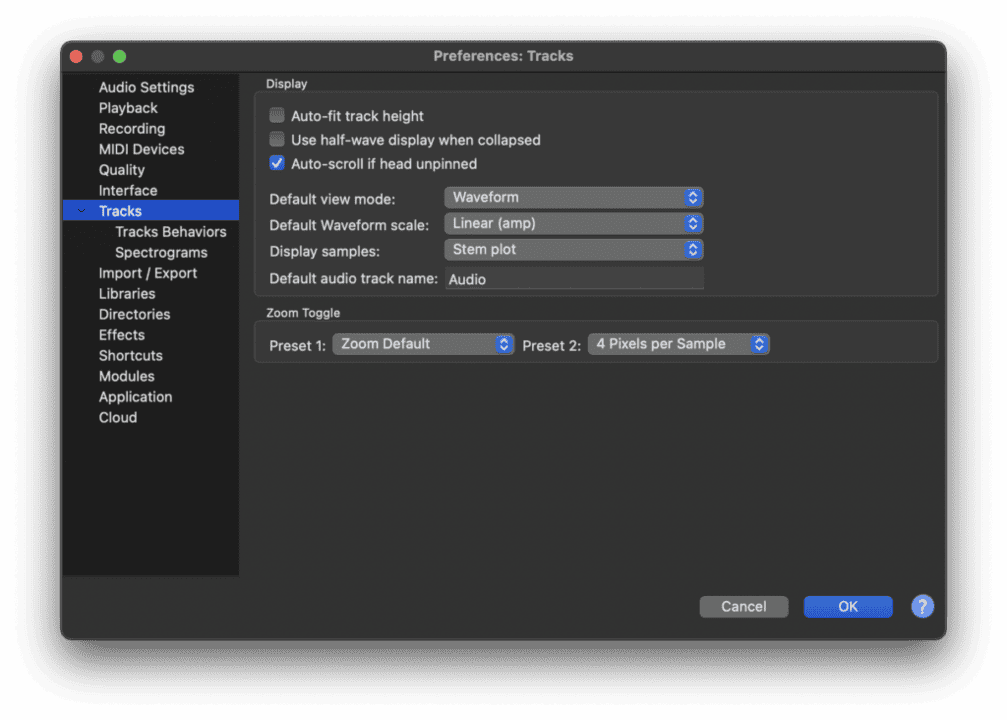
Tracks pane
- Display:
- UNCHECK Auto-fit track height
- UNCHECK Use half-wave display when collapsed
- CHECK Auto-scroll if head unpinned
- Default view mode: Waveform
- Default waveform scale: Linear (amp)
- Display samples: Stem plot
- Default audio track name: Leave as Audio
- Zoom Toggle (no need to change these):
- Preset 1: Zoom Default
- Preset 2: 4 Pixels per Sample
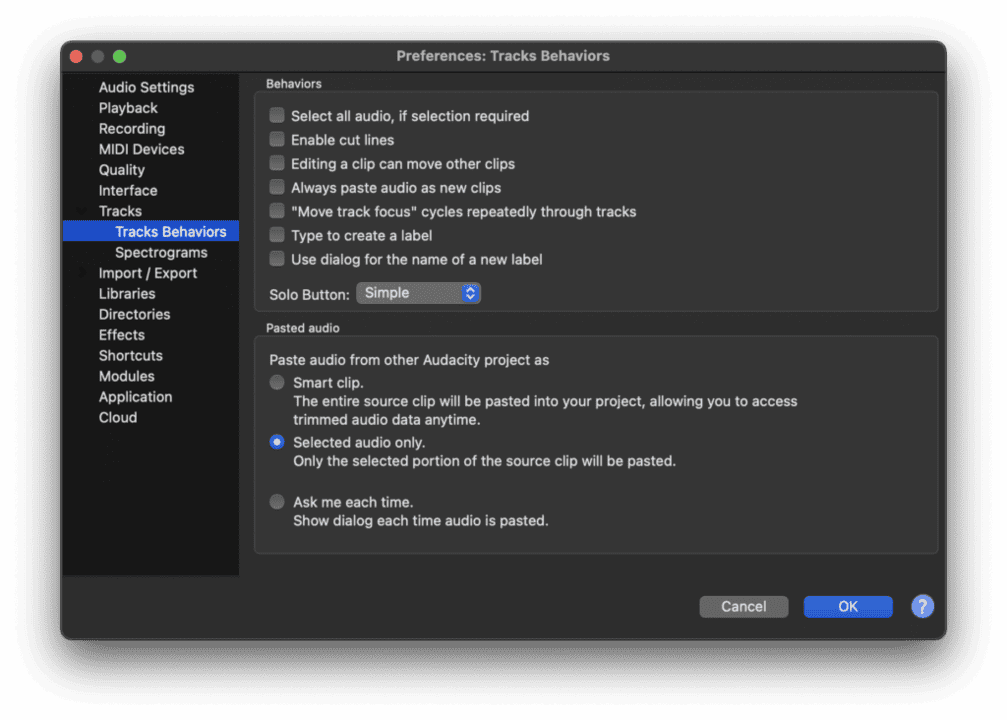
Tracks Behaviors pane
- Behaviors (leave all unchecked):
- UNCHECK Select all audio, if selection required
- UNCHECK Enable cut lines
- UNCHECK Editing a clip can move other clips
- UNCHECK Always paste audio as new clips
- UNCHECK “Move track focus” cycles repeatedly through tracks
- UNCHECK Type to create a lable
- UNCHECK Use dialog for the name of a new label
- Solo button: Choose Simple
- Pasted Audio: Choose Selected audio only
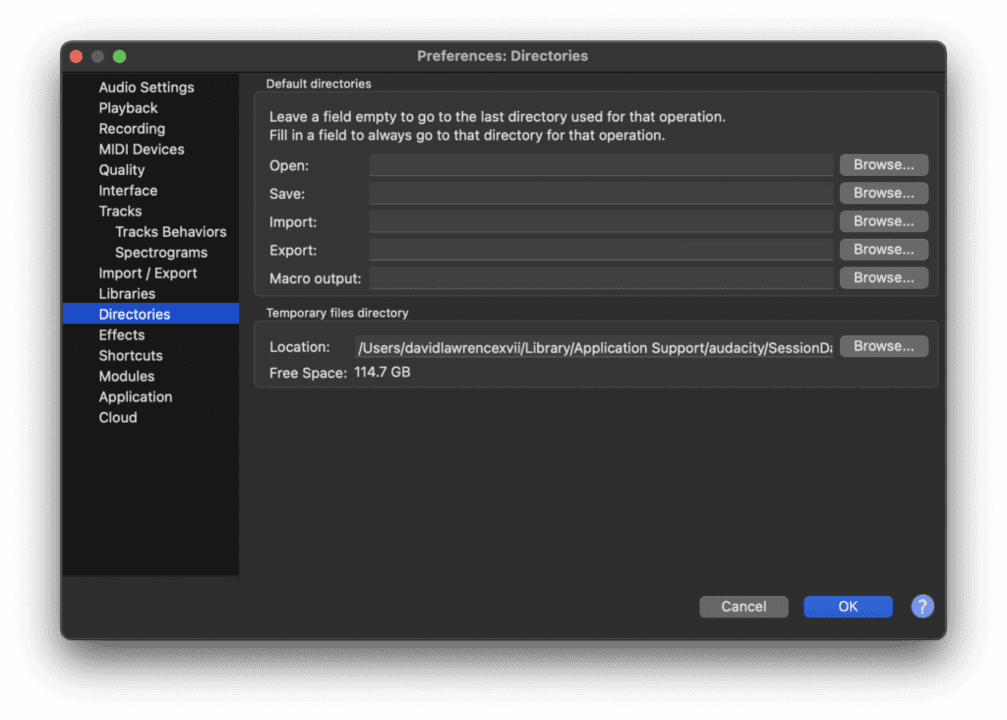
Directories pane
- Settings in this pane should be left as they are, as we don’t use the same directory all the time for our work – we create different directories for each of our auditions and work projects.
- An exception would be if you decide to change the default Temporary files directory, used for saving data when doing your initial recording, to a drive that is different from the internal SSD drive in your computer. Contact the coaching team if that’s something you’re thinking about doing.
Streamlining The Recording Interface and Menus
Quick reminder: you’ll hear me say “3.6.0,” and this will all apply to 3.6.1 as well.

